Shown here are some steps taken when renovating an existing landscape bed. The existing plants were not growing as well as the owner would like. Before planting new shrubs the steps shown below were undertaken to improve the soil for the new plantings.
Bed Construction – Havertown, Delaware County, PA 19083
-

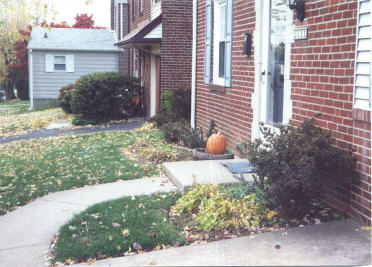
- Before: The nicer plants in the existing bed were transplanted to the back yard. Some of the hosta were set aside to be replanted in the new front planting.
-

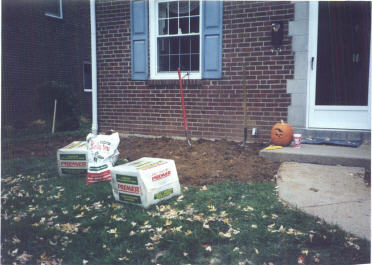
- Step 2: The shape of the new bed is outlined, and grass removed from any bed areas. Peat moss ( We also sometimes use organic leaf compost) and organic fertilizer are dug into the existing soil. The soil is dug down at least a foot to loosen topsoil, and make it easier for the root growth of the new plants.
-

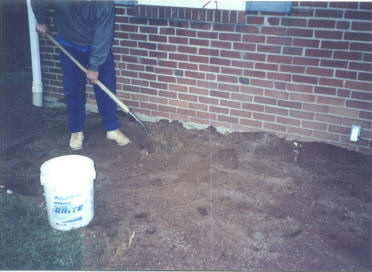
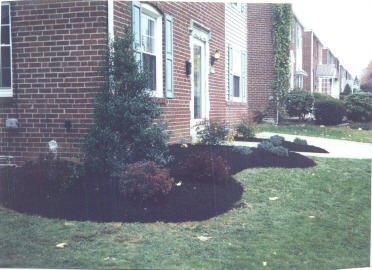
- Step 3: Additional soil is added to the bed to elevate the bed slightly against the house. This will help with drainage away from the house and improve the appearance of lower growing plants.
-
- Step 4: New plants are planted in the improved bed. Plants are watered and mulched. Mulch installation is shown here. We generally use about 2-inches of mulch and keep the mulch off the trunks of the plants.
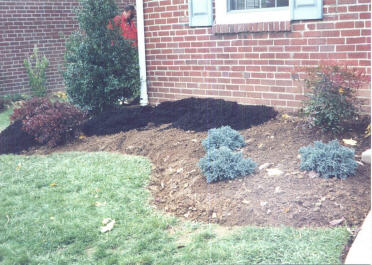
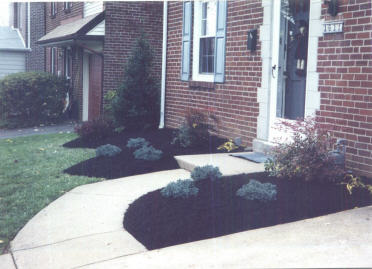
New planting shown here with taller narrow plant in the corner of the house to soften the lines and help frame the house. Medium growing plants are planted on each side of the front door to highlight the entrance. The bed was enlarged to eliminate the grass inside the walk. A few small groupings of plants are planted in the open areas of the new bed with smaller spaces left for seasonal color plants. Space is left under the window for shrub roses to be planted when available the following spring. A few hosta from the original planting are replanted into the new bed.
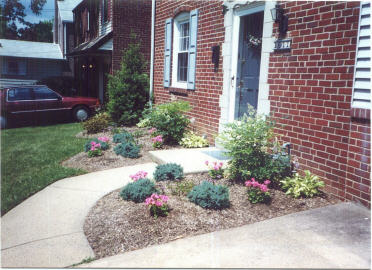
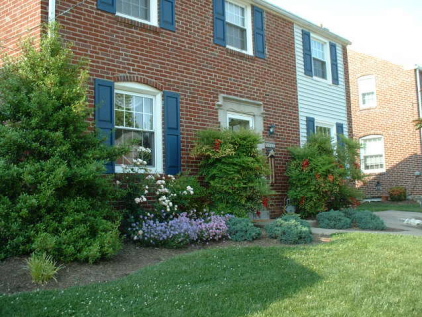
Bed shown the following summer. Shrub roses have been planted under the window, and the owner has planted a few annuals in the new bed.
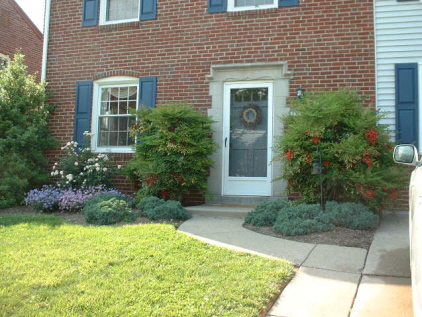
Bed about 5 years after planting.
Here is the typical write up for my bed preparation contract where the bed is large enough to use a roto-tiller:
I usually start by laying out a hose to determine the shape of the beds, marking the beds with spray paint along the hose, roto-tilling the beds, adding about 2-in of leaf compost and some Espoma Biotone starter plus fertilizer. We then will roto-till the bed two more times to mix in the compost and fertilizer and improve the soil over the whole bed. When we plant we add a little more compost and Biotone into the backfill for each plant, along with some Soil Moist water holding polymers for new plantings. Bed preparation above plus mulching with shredded bark or hardwood mulch after planting usually comes to about $2 a sq. ft. If additional soil was needed for proper drainage that would be extra.